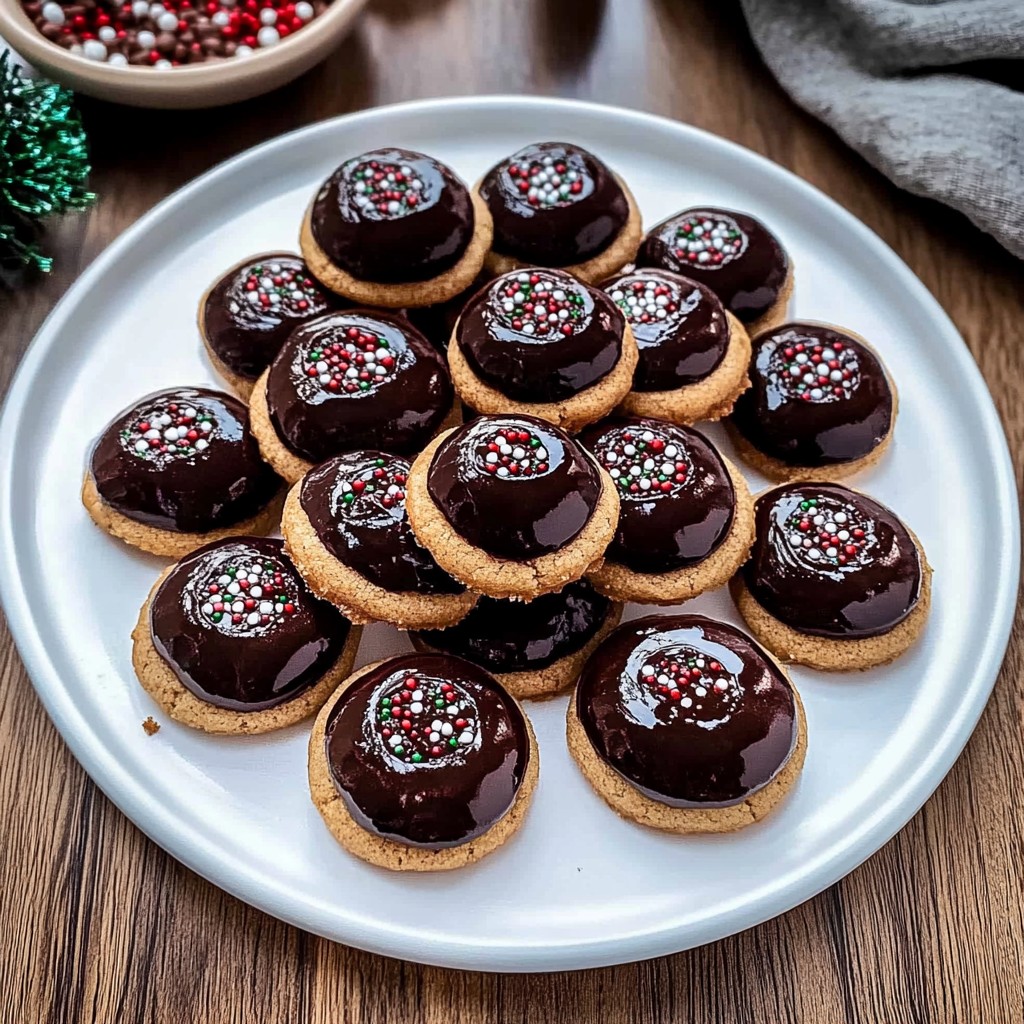
Chocolate thumbprint cookies are the sweet little gems that have a special place in my heart (and stomach). Imagine biting into a rich, chocolatey cookie that crumbles just the right way, revealing a deliciously gooey center filled with your favorite jam or decadent chocolate. The aroma wafts through the kitchen like a warm hug on a chilly day, inviting everyone to gather around and share in the delight. These cookies are not just a treat; they’re an experience—perfect for sharing at holiday gatherings, cozy family nights, or even just because you deserve it.
I remember the first time I baked chocolate thumbprint cookies. My oven was older than my grandma’s secret recipe book, and I was convinced it would explode any minute. But as I pulled those little beauties out, slightly cracked on top and filled with raspberry jam, I felt like a baking superstar. Now, every time I whip up these cookies, they transport me back to that moment of triumph—and they never fail to impress friends and family alike. So grab your apron and let’s create some magic in the kitchen!
Why You'll Love This Recipe
- These chocolate thumbprint cookies are incredibly easy to make, even for novice bakers looking to impress.
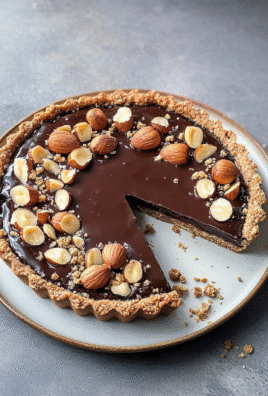
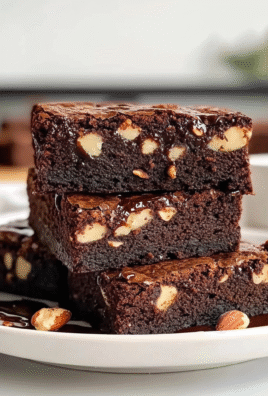
- The rich flavor profile combines deep chocolate with fruity or nutty fillings.
- Their charming appearance makes them perfect for holiday platters or casual get-togethers.
- Whether you prefer classic jams or creative fillings, these cookies are versatile enough to suit any palate.
Ingredients for Chocolate thumbprint cookies
Here’s what you’ll need to make this delicious dish:
- All-Purpose Flour: This forms the cookie base; feel free to sift it for extra lightness.
- Cocoa Powder: Unsweetened cocoa powder provides the rich chocolate flavor that defines these cookies.
- Granulated Sugar: Sweetens the dough perfectly—because who doesn’t love sugar?
- Baking Powder: This helps the cookies rise slightly so they don’t turn into hockey pucks.
- Salt: A pinch enhances the flavors; don’t skip it!
- Unsalted Butter: Softened butter is crucial for that melt-in-your-mouth texture.
- Egg Yolk: Adds richness and helps bind everything together.
- Vanilla Extract: A splash of vanilla adds depth and warmth to the flavor profile.
- Jam or Chocolate Hazelnut Spread: Your choice of filling—go wild! Raspberry jam is classic but feel free to experiment.
The full ingredients list, including measurements, is provided in the recipe card directly below.

How to Make Chocolate thumbprint cookies
Follow these simple steps to prepare this delicious dish:
Step 1: Preheat Your Oven
Begin by preheating your oven to 350°F (175°C). Line two baking sheets with parchment paper so your cookies won’t stick like gossip at a family reunion.
Step 2: Mix Dry Ingredients
In a mixing bowl, whisk together all-purpose flour, cocoa powder, baking powder, and salt. This step ensures all those dry ingredients play nicely together before meeting their buttery counterpart.
Step 3: Cream Butter and Sugar
In another bowl, cream softened unsalted butter with granulated sugar until light and fluffy. This process usually takes about two minutes—like an awkward elevator ride with your neighbor.
Step 4: Combine Wet Ingredients
Add egg yolk and vanilla extract into the creamed mixture. Mix until everything is well combined; it should look smooth and inviting—like a warm hug after a long day.
Step 5: Incorporate Dry Ingredients
Gradually add the flour mixture to your wet ingredients while mixing slowly until combined. Don’t overmix unless you want tough cookies; we’re not running a gym here!
Step 6: Form Cookies & Bake
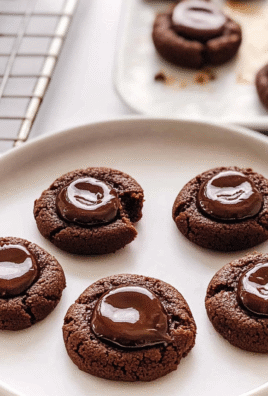
Scoop tablespoon-sized portions of dough onto prepared baking sheets about two inches apart. Press your thumb gently into each mound to create a well for filling later. Bake for about 10-12 minutes or until set but still soft in the center.
Once baked, let them cool slightly before filling each thumbprint with your chosen jam or chocolate spread—it’s like putting icing on the cake but way cooler! Transfer them to plates and watch as everyone fights for the last one!
And there you have it—delicious chocolate thumbprint cookies that are bound to become a favorite in your home! Enjoy them fresh from the oven or stored in an airtight container (if they last that long).
You Must Know
- Chocolate thumbprint cookies are the ultimate sweet treat that combines rich chocolate with a delightful jam filling.
- They are easy to make and perfect for sharing, making them a must-have for any cookie lover.
- Their charming appearance and delicious taste will impress everyone at your next gathering.
Perfecting the Cooking Process
To achieve perfection with chocolate thumbprint cookies, start by preheating your oven while you mix the dough. Shape the cookies, then create indents before baking. This sequence ensures your cookies are soft and gooey in the center while the edges remain crisp.
Add Your Touch
Feel free to customize these cookies by swapping out the jam for your favorite flavor, like raspberry or pineapple. You could even add a sprinkle of sea salt on top before baking for an extra flavor kick that balances the sweetness beautifully!
Storing & Reheating
Store leftover chocolate thumbprint cookies in an airtight container at room temperature for up to five days. If you want to keep them longer, freeze them in a single layer, then transfer them to a freezer bag. Reheat briefly in the microwave if desired.
Chef's Helpful Tips
- For perfect chocolate thumbprint cookies, chill your dough for about 30 minutes before shaping.
- This helps prevent spreading and keeps them thick and chewy.
- Always use high-quality jam to enhance the flavor; it makes a noticeable difference!
- Finally, don’t skip the indent step; it’s crucial for holding that delicious filling.
I remember the first time I made chocolate thumbprint cookies for a family gathering. My cousin took one bite and declared it love at first chew! We laughed as everyone reached for seconds, proving these treats were a hit!
FAQs
What are chocolate thumbprint cookies?
Chocolate thumbprint cookies are delightful treats made from a rich chocolate dough that is rolled into balls and pressed in the center to create an indentation. This space is traditionally filled with jam or melted chocolate, giving each cookie a unique flavor combination. They are perfect for holiday gatherings, cookie exchanges, or simply as an everyday snack. The contrast of the soft cookie with the sweet filling makes them irresistible.
How do you store chocolate thumbprint cookies?
To maintain their freshness, store chocolate thumbprint cookies in an airtight container at room temperature. They can last up to a week this way. If you want them to stay fresh longer, consider freezing them. Simply place them in a freezer-safe container, separating layers with parchment paper. When you’re ready to enjoy them, thaw at room temperature or warm them briefly in the oven for that freshly baked taste.
Can I use different fillings for chocolate thumbprint cookies?
Absolutely! While traditional chocolate thumbprint cookies often feature jam or melted chocolate, you can experiment with various fillings. Nut butter, caramel sauce, or even flavored ganache can add a unique twist to your cookies. Try using fruit preserves like raspberry or apricot for a fruity flavor contrast. The possibilities are endless, so feel free to get creative based on your personal tastes.
Are chocolate thumbprint cookies suitable for special diets?
Depending on the recipe modifications you make, chocolate thumbprint cookies can be suitable for various diets. For gluten-free options, substitute regular flour with almond flour or a gluten-free blend. You can also use vegan butter and dairy-free chocolate to cater to vegan diets. Always check ingredient labels if you have allergies or dietary restrictions to ensure everyone can enjoy these delicious treats.
Conclusion for Chocolate thumbprint cookies
Chocolate thumbprint cookies offer a delightful mix of flavors and textures that make them a favorite among cookie lovers. Their versatility allows for various fillings, ensuring there’s something for everyone. By storing them properly and considering dietary modifications, you can share these treats with family and friends year-round. Whether for celebrations or simple indulgence, these cookies never disappoint. Enjoy baking and savoring every bite!

Chocolate Thumbprint Cookies
- Prep Time: 15 minutes
- Cook Time: 12 minutes
- Total Time: 27 minutes
- Yield: Approximately 24 cookies 1x
- Category: Dessert
- Method: Baking
- Cuisine: American
Description
Chocolate thumbprint cookies are a delightful treat featuring rich chocolate dough and a gooey jam center, creating an irresistible combination perfect for any occasion.
Ingredients
- 1 cup all-purpose flour
- 1/2 cup unsweetened cocoa powder
- 1/2 cup granulated sugar
- 1 tsp baking powder
- 1/4 tsp salt
- 1/2 cup unsalted butter, softened
- 1 egg yolk
- 1 tsp vanilla extract
- 1/2 cup jam (your choice, such as raspberry or apricot)
Instructions
- Preheat your oven to 350°F (175°C) and line two baking sheets with parchment paper.
- In a mixing bowl, whisk together all-purpose flour, cocoa powder, baking powder, and salt.
- In another bowl, cream the softened butter with granulated sugar until light and fluffy (approximately 2 minutes).
- Add the egg yolk and vanilla extract to the creamed mixture; mix until smooth.
- Gradually incorporate the dry ingredients into the wet mixture until just combined.
- Scoop tablespoon-sized portions of dough onto prepared baking sheets about two inches apart. Press your thumb gently into each mound to create an indent.
- Bake for 10-12 minutes or until set but still soft in the center.
- Allow cookies to cool slightly before filling each thumbprint with your chosen jam.
Nutrition
- Serving Size: 1 cookie (25g)
- Calories: 110
- Sugar: 8g
- Sodium: 50mg
- Fat: 7g
- Saturated Fat: 4g
- Unsaturated Fat: 3g
- Trans Fat: 0g
- Carbohydrates: 11g
- Fiber: 1g
- Protein: 1g
- Cholesterol: 15mg
Keywords: Chill your dough for about 30 minutes before shaping to prevent spreading and maintain thickness. Experiment with different fillings such as nut butter or chocolate spread for variety.
Leave a Comment